Fork and Clone
The Big Idea
Forking creates your own copy of someone else's repo on GitHub. Cloning downloads it to your computer. Together, fork + clone is how you get your own working copy of a shared project. You will use this to set up your reflections repo — where all your written reflections will live for the rest of Foundations.
Your Roadmap
| Section | Time | Required? |
|---|---|---|
| Fork vs clone — what's the difference? | 5 min | ⚑ Required |
| Step 1: Fork the reflections repo | 5 min | ⚑ Required |
| Step 2: Clone it to your computer | 10 min | ⚑ Required |
| Step 3: Open in VS Code | 5 min | ⚑ Required |
| Step 4: Add your previous reflections | 20 min | ⚑ Required |
| Reflect | 15 min | ⚑ Required |
Fork vs clone — what's the difference?
Show explanation
Clone — copies a repo from GitHub to your computer. Your local clone is connected to the original remote and is meant to stay in sync with it.
Fork — creates your own copy of someone else's repo on GitHub. Your fork is independent. It does not feed back into the original unless you deliberately open a pull request.
| Clone | Fork | |
|---|---|---|
| Where it lives | Your computer | Your GitHub account |
| Connected to original? | Yes | No (unless you choose to) |
| Use case | Working on a shared project | Taking your own copy of someone else's project |
At Dev Academy you will fork the reflections repo so your reflections stay on your own account and do not affect the original.
Step 1: Fork the reflections repo
- Go to your cohort's reflections repo: reflections — select your cohort in the top-right corner of this page to see the link
- Click Fork in the top right corner
- Select your own account as the destination
Your forked repo will now live at https://github.com/YOUR-USERNAME/reflections.
Figure 1: Fork the repo from the original

Figure 2: Your forked repo on your account

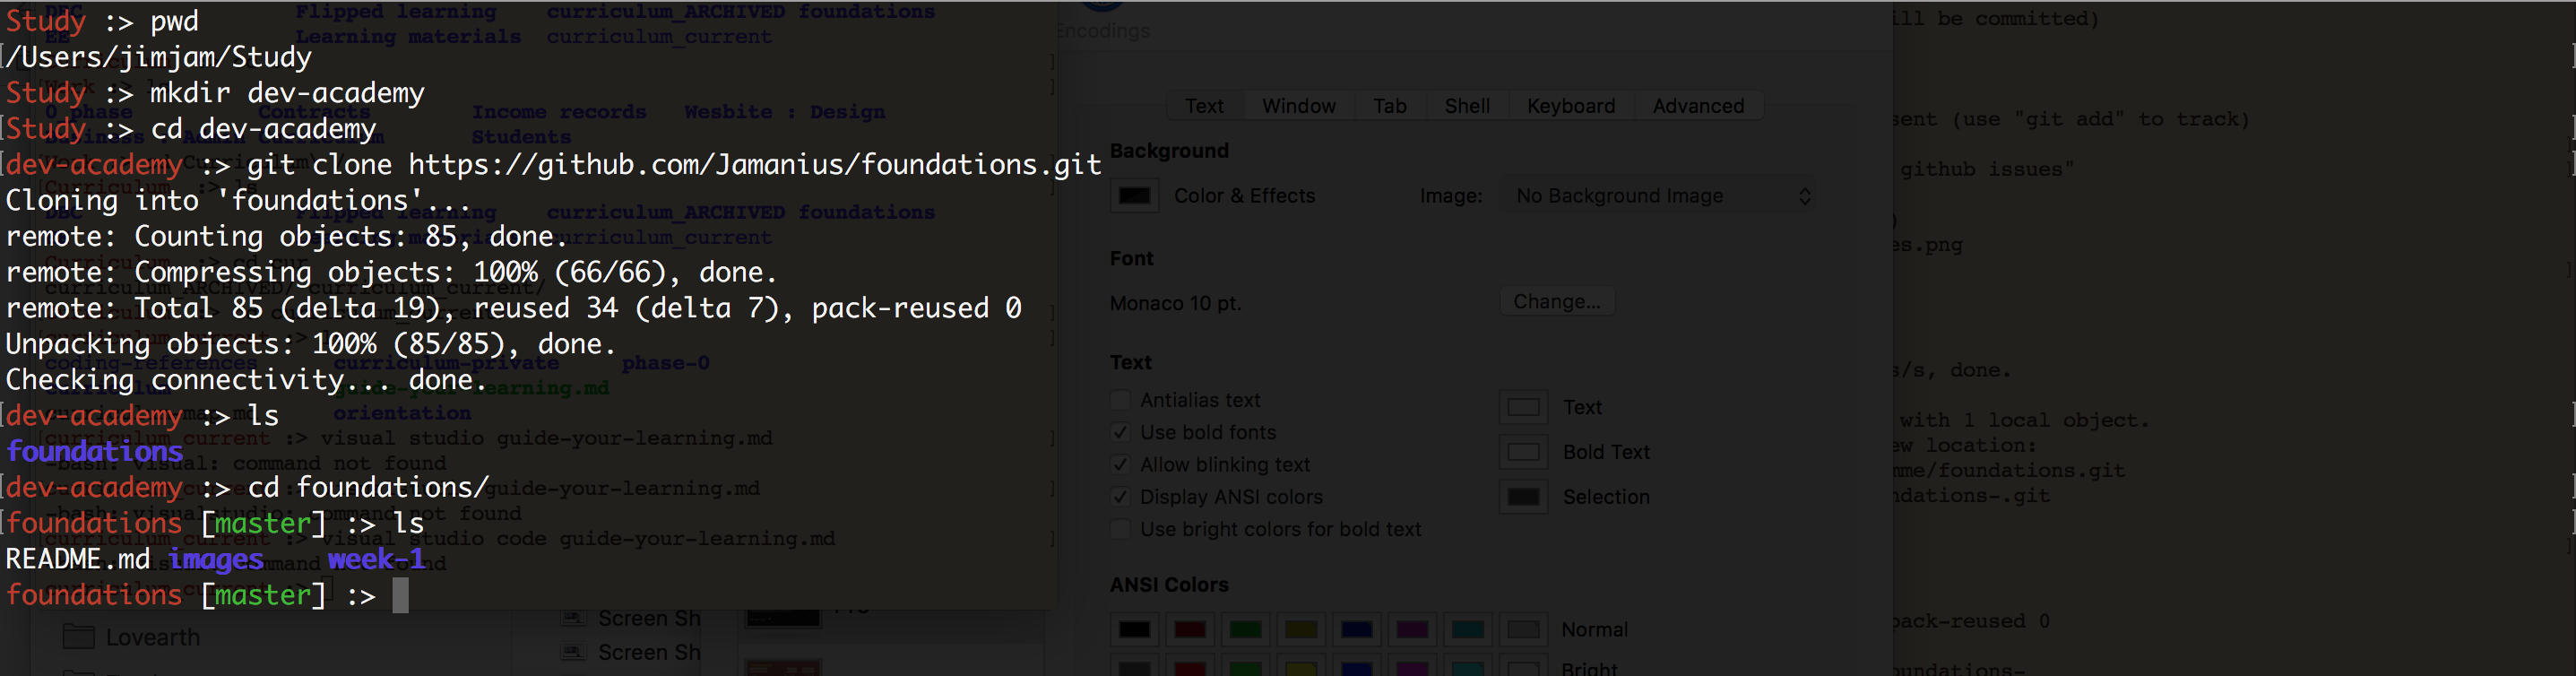
Step 2: Clone it to your computer
Important: Clone this into your Dev-Academy parent folder — not inside an existing Git repo.
- On your forked repo page on GitHub, click the Code button and copy the SSH URL
- In your terminal, navigate to your
Dev-Academyfolder - Run:
git clone git@github.com:YOUR-USERNAME/reflections.gitcd reflections
Figure 3: Cloning in the terminal
Step 3: Open in VS Code
code .
You should see a folder for each sprint, with a my-reflections markdown file inside each one.
Figure 4: The cloned repo open in VS Code

Step 4: Add your previous reflections
Open sprint-1/my-reflections-sprint-1.md. Copy and paste the reflections you wrote in earlier tasks into this file under the matching headings.
Use Markdown formatting to make headings and bold text.
When you are done, stage, commit, and push:
git add -Agit commit -m "Add sprint 1 reflections"git push
From now on, you will add all your reflections directly to this repo and push them to GitHub.
How to know you've nailed it
| Level | You can... | ||
|---|---|---|---|
| 🪨 | Intro Climb | Fork the repo and clone it to your computer | ⚑ Required |
| 🧗 | Core Ascent | Add your previous reflections and push the changes to GitHub | ⚑ Required |
| 🏔️ | Summit | Explain the difference between fork and clone without notes | ◎ Optional |
Reflect
Open sprint-1/my-reflections-sprint-1.md and add your answers under the GitHub Fork & Clone heading.
Stage, commit, and push your reflection.
git add -Agit commit -m "Add GitHub Fork and Clone reflection"git push
The Big Idea (revisited)
Fork to get your own copy on GitHub. Clone to get it on your computer. From here, every reflection you write goes into this repo and gets pushed to GitHub.