The DOM & Events
The Big Idea
Every time a user clicks, types, or moves their mouse, the browser fires an event. JavaScript lets you listen for these events and run a function when they happen — this is how web pages become interactive.
Your Roadmap
| Section | Time | Required? |
|---|---|---|
| What is an event? | 5 min | ⚑ Required |
| Add a button to the page | 5 min | ⚑ Required |
| Listen for a click event | 10 min | ⚑ Required |
| Use event.target | 10 min | ⚑ Required |
| Affect other elements | 5 min | ⚑ Required |
| Keystroke events | 15 min | ⚑ Required |
What is an event?
An event is anything a user does on a page — clicking a button, typing in a field, moving their mouse, resizing the window.
The most common events are:
| Event | When it fires |
|---|---|
click | User clicks an element |
mouseenter | Mouse moves over an element |
keyup | User releases a key |
There are many more — see the MDN Event reference for the full list.
To respond to an event, you attach an event listener to an element. When the event fires, the browser calls the function you provided.
Add a button to the page
Update dom-lesson.html — replace the contents of <main> with a single button:
<!DOCTYPE html><html lang="en"><head><title>Test</title></head><body><div id="app"><header><h1>My test page</h1></header><main><button id="test-button">Click me</button></main></div></body></html>
Save the file and refresh Chrome.
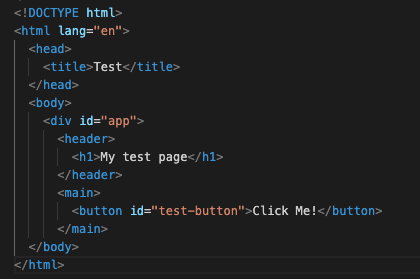
Figure 9: Your page should now show a single button.
Listen for a click event
Use .addEventListener() to attach a listener to the button. It takes two arguments:
- The name of the event (e.g.
'click') - A function to call when the event fires
document.querySelector('#test-button').addEventListener('click', (event) => {console.log(event)})
Click the button. You should see an event object logged to the console:

Figure 10: The event object contains a lot of information about what just happened.
Use event.target
The event object has a target property — it points to the element that was clicked.
document.querySelector('#test-button').addEventListener('click', (event) => {console.log(event.target)})
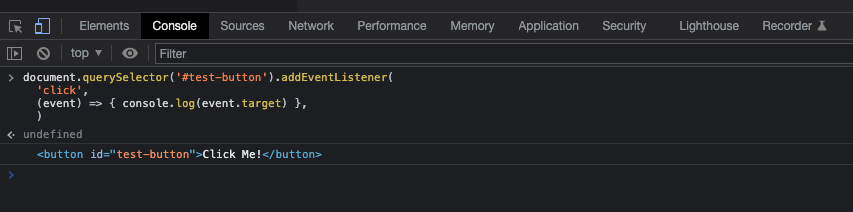
Figure 11: event.target is the button element itself.
Because event.target is an element, you can use innerHTML on it — just like you did in the previous lesson:
document.querySelector('#test-button').addEventListener('click', (event) => {event.target.innerHTML = 'Woah!'})
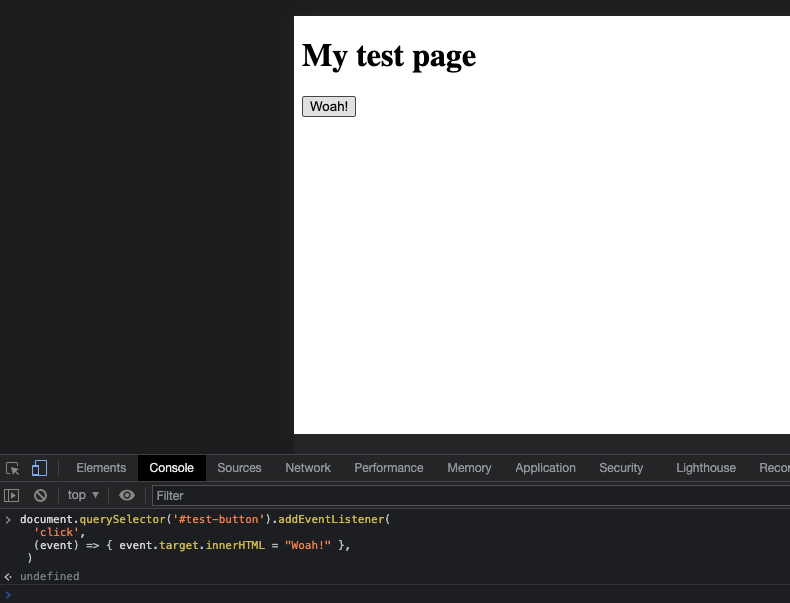
Figure 12: The button text updates when clicked.
Affect other elements
You don't have to change the element that was clicked. You can target anything on the page:
document.querySelector('#test-button').addEventListener('click', () => {document.querySelector('h1').innerHTML = "I'm a header, and I have changed"})
Notice the callback has no event parameter — we don't need it here. We only care that the click happened, then we grab the <h1> and update it directly.
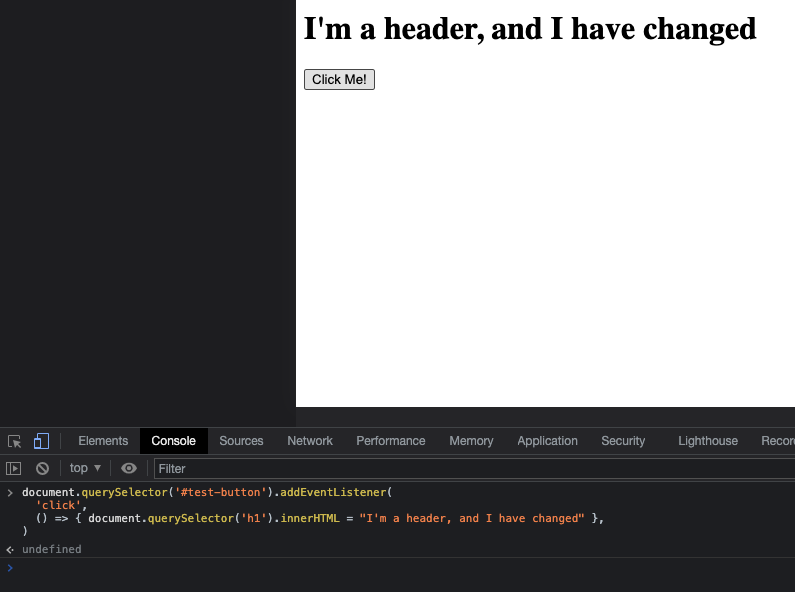
Figure 13: Clicking the button changes the heading.
Keystroke events
Now try something more complex — capturing what a user types and displaying it live below the input.
Step 1: Update the page
Replace the contents of dom-lesson.html with this:
<!DOCTYPE html><html lang="en"><head><title>Test</title></head><body><div id="app"><header><h1>My keystroke test page</h1></header><main><p><input id="keystroker" /></p><p id="outputter"></p></main></div></body></html>

Figure 14: Your page should show a text input field.
Step 2: Add the event listener
let input = document.querySelector('#keystroker')let output = document.querySelector('#outputter')function updater(event) {output.innerHTML = input.value}input.addEventListener('keyup', updater)
This code does four things:
- Grabs the
<input>element and stores it ininput - Grabs the
<p>element and stores it inoutput - Defines a function
updaterthat copies the input's current value into the output paragraph - Attaches a
keyuplistener toinput— soupdaterruns every time a key is released
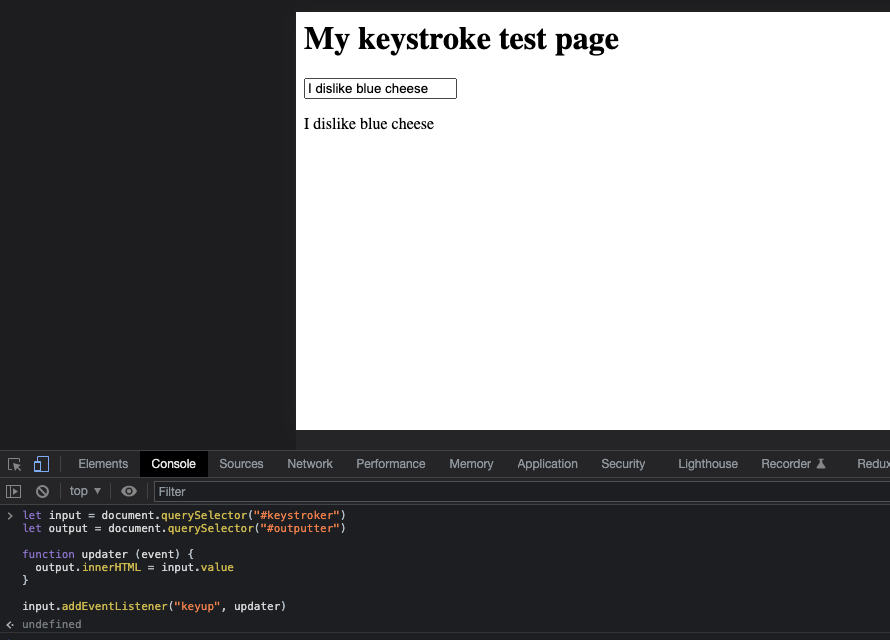
Figure 15: Whatever you type appears immediately in the paragraph below.
Why keyup and not keydown?
keydown fires before the character appears in the input. If you read input.value at that point, you get the value from before the keystroke.
keyup fires after the character has been added, so input.value includes the new character.
How to know you've nailed it
| Level | You can... | ||
|---|---|---|---|
| 🪨 | Intro Climb | Attach a click event listener to a button and log something to the console when it fires | ⚑ Required |
| 🧗 | Core Ascent | Use event.target to change the clicked element, and change a different element from within an event handler | ⚑ Required |
| 🏔️ | Summit | Capture keyup events on an input and display the live value elsewhere on the page | ◎ Optional |
The Big Idea (revisited)
Events are how JavaScript responds to what users do. You listen for an event with addEventListener, then run a function when it fires. Inside that function you can change any element on the page — the one that was clicked, or any other.
Extra Resources
These are optional. Use them if you want to go deeper.